File Drop Project
While browing reddit the other day, I discovered a hint of a raspberry pi project that I thought might be cool. The idea is simple: Create a raspberry pi with an open and braodcasting wifi access point that allows anyone to connect and upload a file or see what others have uploaded.
It's a bit of an experiment in a way. Will anyone actually see this, login, and upload? Time to find out!
Security Concerns
First things first.. the goal here isn't to give anyone access to my home network. While I set this up, I have it wired in, but it will soon be unplugged and it will have never connected to my wifi.
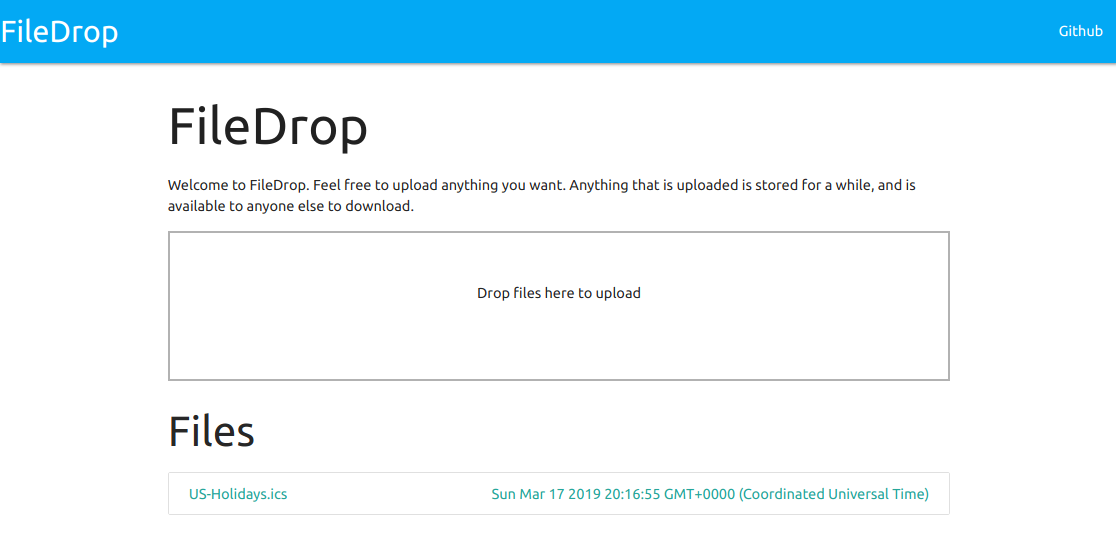
FileDrop Software
I did a little searching for something at first. I ended up finding filedrop written in golang, but it looks relatively unmaintained and didn't compile when I tried (the dependencies seemed to not exist anymore).
I figured this is something easy I could probably just write in an afternoon, so I picked nodejs on an expess stack and did just that!
You can find the source on github
Setting up the RPi
1. Install raspbian
First things first, I need to get raspbian on the pi! I went for their lite image, since I didn't need a UI.
After following their instructions to flash my SD card, there's one more step that you need to do: enable ssh.
While the SD card is mounted on your computer (assuming linux), you need to touch /path/to/boot/ssh. By adding the file ssh to the /boot sector on the SD card, this will cause it to automatically start the SSH service on first boot.
After this, you should be able to plug in to wired ethernet and to power, and then ssh straight into your device.
Once you ssh, first thing's first: change your password by running passwd. This is a device we plan to have on open wifi, the last thing we want is to leave the default raspbian password!
2. Set up access point (AP)
The next step was to set up the device as an Open Access Point. I did this with hostapd, following these instructions, but I had to make some changes.
First, install hostapd and dnsmasq.
sudo apt-get update
sudo apt-get install dnsmasq hostapd
hostapd
Once installed, edit dhcpcd configuration to give your device an IP: (this is necessary sense devices will be connecting to the pi, not the other way around)
Edit: sudo nano /etc/dhcpcd.conf and insert the following at the bottom:
interface wlan0
    static ip_address=192.168.50.1/24
    nohook wpa_supplicant
Then edit: sudo nano /etc/hostapd/hostapd.conf (it will be empty), and add:
interface=wlan0
driver=nl80211
ssid=drop-project
hw_mode=g
channel=7
wmm_enabled=0
macaddr_acl=0
wpa=0
ignore_broadcast_ssid=0
Lastly, edit sudo nano /etc/default/hostapd, and add this line:
DAEMON_CONF="/etc/hostapd/hostapd.conf"
dnsmasq
Next, we need to configure dnsmasq. We want to accomplish two things with it.
- Act as a DHCP server to assign IP addresses to clients as they connect, and
- Route every DNS lookup to resolve to the raspberry pi as the host.
We want #2 because even if the user enters google.com into their browser, we want them to see filedrop. This will also trick phones into presenting this as a "login page" when the user first connects to the open AP.
Edit /etc/dnsmasq.conf and add (anywhere)
interface=wlan0      # Use the require wireless interface - usually wlan0. You can check by running 'ip addr'
dhcp-range=192.168.50.2,192.168.50.200,24h
address=/#/192.168.50.1 # Resolve all requests to self
3. Set up FileDrop
Note: If you have trouble accessing the internet past this point, you might have to temporarily disable dnsmasq. This is because it might be tricking your pi into resolving all requests back to itself. You can simply run systemctl stop dnsmasq, and swap stop for start once you're done.
First, install nodejs onto the pi:
sudo apt-get install nodejs npm git`
Then clone the repo:
git clone https://github.com/zix99/filedrop.git
cd filedrop
npm install
npm run forever
At this point you should be able to hit filedrop from your browser at http://x.x.x.x:8080 (file in your pi's IP address).
4. Reverse Proxy (Nginx)
One of the keys here is to also set it up in such a way where it can run on port 80 (standard HTTP port). We don't want to run the application itself on port 80, since it would need to be priviledged (and having an open wifi is already enough of a security hole). So to solve this problem, I chose to set up nginx, which is a populate lightweight web server and reverse proxy.
sudo apt-get install nginx
Then add this configuration at: sudo nano /etc/nginx/sites-enabled/filedrop
server {
  listen 80;
  server_name _;
  location / {
    proxy_pass http://127.0.0.1:8080;
    proxy_buffering off;
    client_max_body_size 100M;
  }
}
You can then reload nginx by running systemctl restart nginx, and hitting http://x.x.x.x (now without the port) and seeing if it works.
5. Firewall (Optional)
Though optional, I highly recommend adding a firewall. While this is isolated from your network, it could still be compromised itself.
I chose to install ufw
sudo apt-get install ufw
sudo ufw default deny incoming
sudo ufw default allow outgoing

sudo ufw allow ssh
sudo ufw allow http
sudo ufw allow 53 #DNS
sudo ufw allow 67 #DHCP

# Limit login attempts on ssh port using tcp: this denies connection if an IP address has attempted to connect six or more times in the last 30 seconds
sudo ufw limit ssh/tcp

# Enable
sudo ufw enable
If you would like to secure your pi even more check out these raspbian docs
6. Test it out!
First thing's first: we've done a lot of configuration, time to reboot! sudo reboot. If all goes well, it should now be broadcasting a public wifi signal. You should be able to connect your laptop/phone to it.
From there, simply ssh back in, go to where you installed filedrop, and run npm run forever again. If you want, you can set it up to autostart using a systemd service or something like supervisor.
7. Finally
Don't forget to unplug the ethernet! We put a lot of effort into security, but we don't want a hacker to be able to get in to your network!
Conclusion
This was a fun little weekend project. I'm not sure if anyone will ever connect to it, but I live in a pretty dense part of a fairly techy city, so I have high hopes that if I leave it there for long enough eventually someone will see it and be curious enough to connect. It might take a bit of waiting, but if it does get interesting, I'll be sure to report back with my findings!